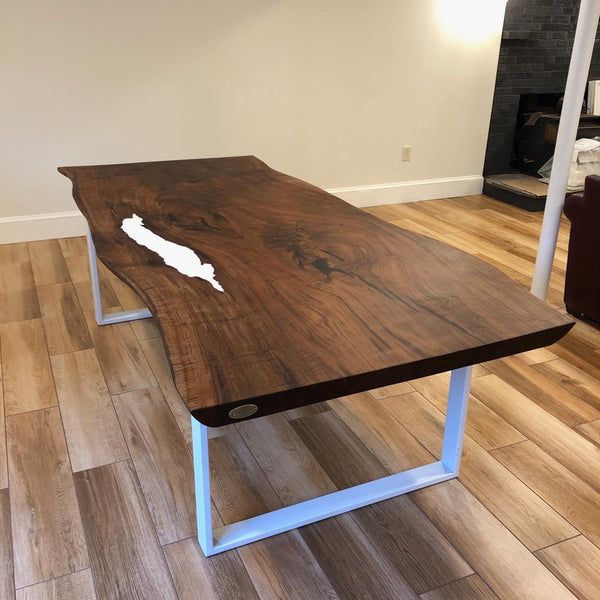
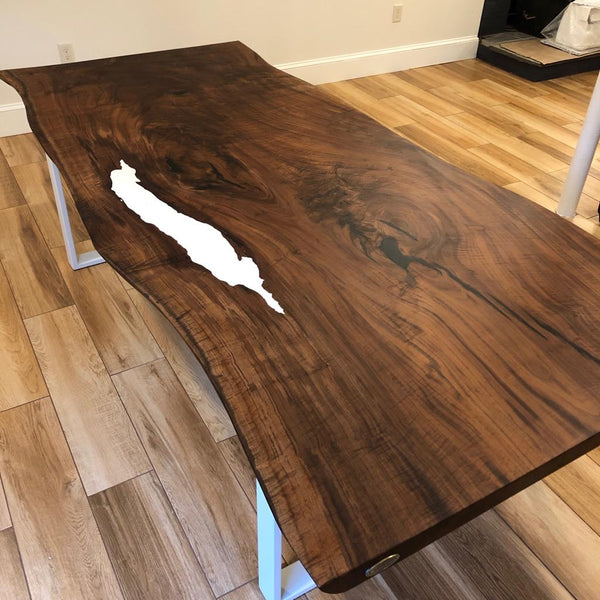
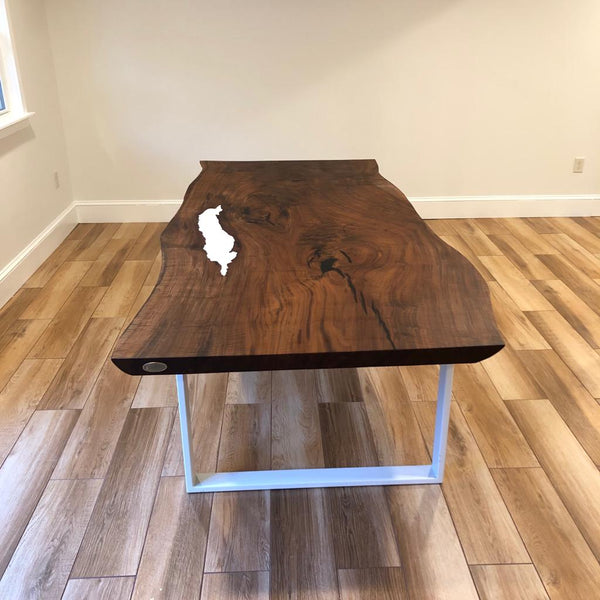
Finishing Your Custom Table
The last thing to do after building your custom table is to finish it – <i>literally</i>!
Whether you want it lacquered, stained, or painted, there are a few steps to follow. Generally speaking, you need to treat the wood before applying the finish. You do not necessarily <i>have</i> to sand it but, if you do, be sure to sand it after each coat for a professional result.
100 to 200 -grit sandpaper is best: Start with the 100-grit, sand down the first coat of paint with the 150, then use the 200-grit (or 220-grit) to finish. A sander is more efficient but not necessary; sanding by hand works just as well and a sanding block is a fantastic, and cheap, alternative. Be sure to wipe away the excess every time you sand the table.
Always use a finer grit on painted surfaces: The higher the number, the finer the sandpaper. Coarse sandpaper is great for sanding down knots and imperfections in untreated wood but it will scratch the finish. Be sure to let your finish dry completely after each application before sanding.
You can also use mineral oil, liquid sander, or a bonding primer to treat the wood instead of, or in addition to, sanding it down. This is especially effective if your furniture has an intricate wood design or pattern you want to accentuate. Chalk paint and mineral paint are two more options that do not require sanding; they are applied directly to the untreated wood. You need to be outside or in a well-ventilated area when using these products.
In fact, it's a good idea to be outside or in a well-ventilated area for all of these steps!
Apply stain with a fine steel wool pad, wiping away the excess within a minute or two. This is especially important when staining the table legs, as they soak up stain quickly. Experts suggest applying in a zigzag motion to avoid leaving “brush marks.” Buff well then allow it to dry thoroughly.
A spray gun is suggested for painting tables and other furniture pieces. It avoids brush marks and applies even coats so there is no variation in color. Be sure to keep the tip of your spray gun, or the nozzle, clean or you will run into all sorts of problems.
You can adjust the nozzle for a finer spray but with thick materials like paint, this increases the likelihood of clogging your spray gun. You may want to use water, paint thinner, or some other material to dilute the paint so that it comes out more easily.
Apply three coats of finish for a professional look. With stain, the longer you let it set, the darker the finish. But, even if you are going for a lighter shade, you should still apply three coats. Finally, use polyurethane, tung oil, or another finishing material to complete your table.
Let your custom table set for at least 24 hours to dry thoroughly and you're all finished!
Post a Comment!